New Entry & Quick Submission
Version 3 added a New Entry button to the welcome page. It opens a dialog that both explains how a submission travels through the repository and offers three ways to start one — including a quick submission wizard that deposits a single characterised compound without opening the ELN.
You need to be signed in for New Entry to appear.
The walkthrough below runs through the whole dialog — the four stages, the three routes, and each step of the quick wizard. It stops short of submitting.
New Entry, from the welcome page through to the analyses step
How a submission works
The dialog opens with a short summary of the path every submission takes:
- Draft in My Data — the entry is saved to your own collection, where you can keep refining the structure, properties and analyses.
- Submit for review — you hand it over to the Chemotion reviewers.
- Review — the reviewers check completeness, data quality and metadata, then approve the entry or return it to you.
- Publish with a Chemotion ID — only entries that pass review are published and receive a citable identifier.
Once submitted, the entry is locked and cannot be edited. If changes are needed, the reviewer sends it back to you for modification — see Review Process.
Three ways to start
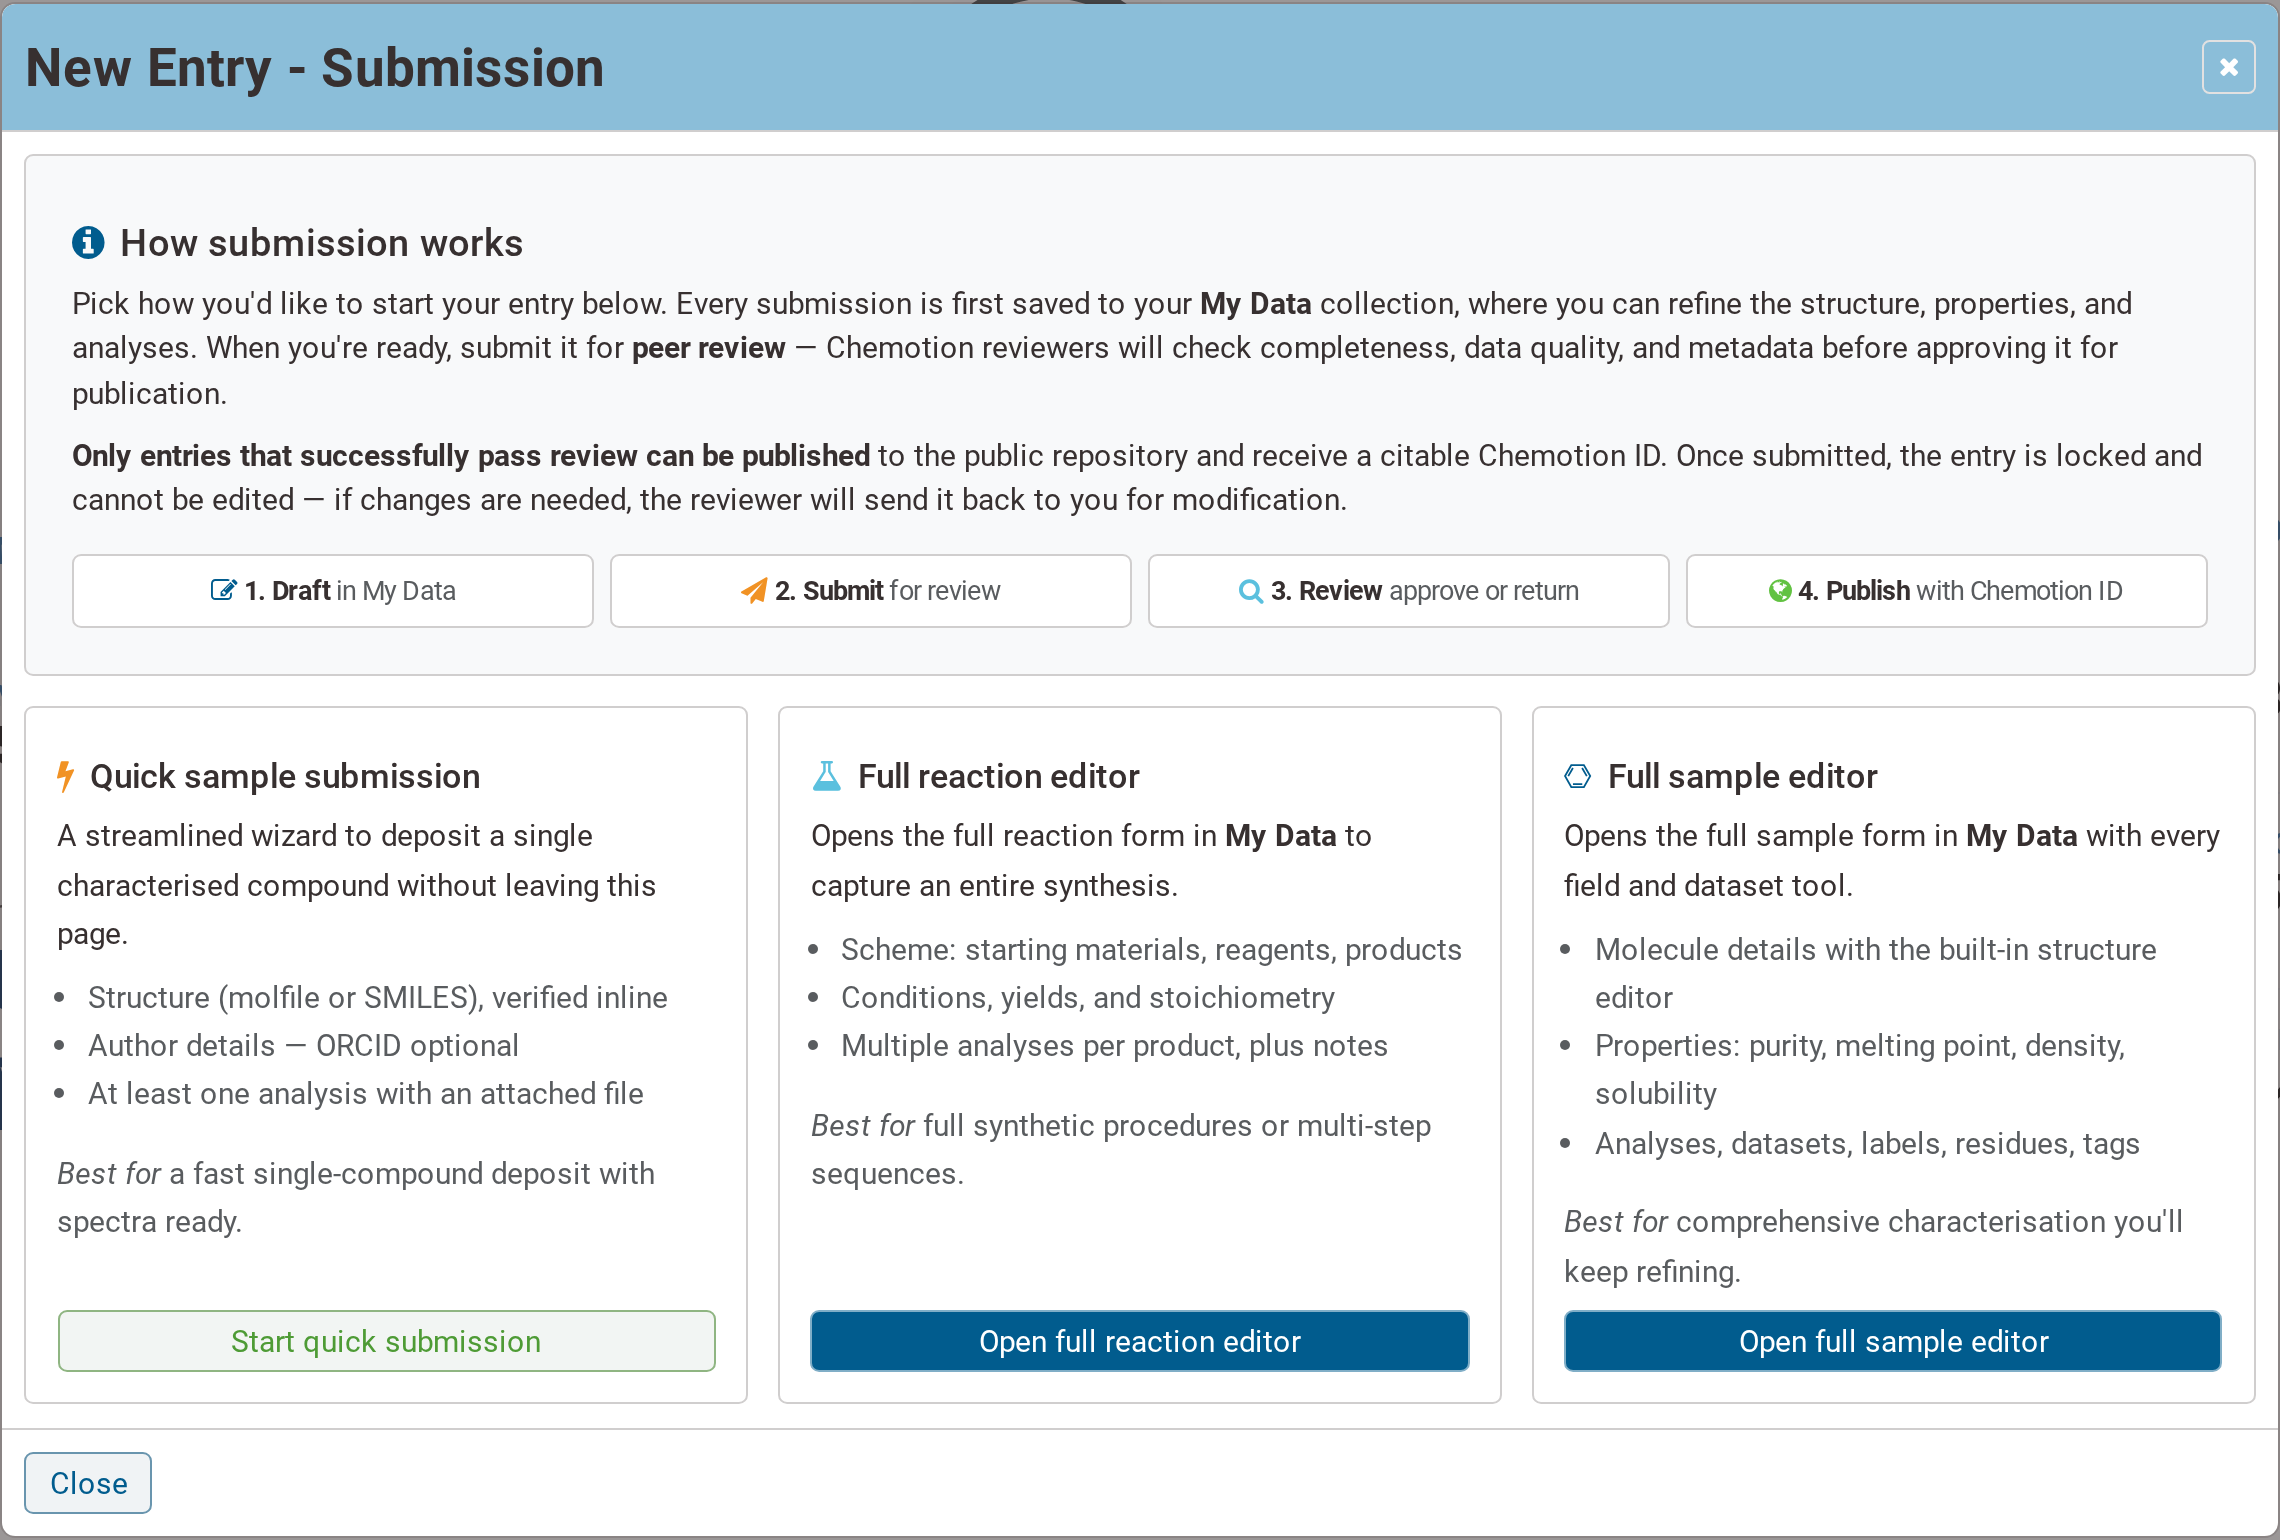
New Entry — pick how you want to start
| Route | What it opens | Best for |
|---|---|---|
| Quick sample submission | a three-step wizard, right on the welcome page | a fast single-compound deposit when your spectra are ready |
| Full reaction editor | the complete reaction form in My Data | full synthetic procedures or multi-step sequences |
| Full sample editor | the complete sample form in My Data | comprehensive characterisation you will keep refining |
The two full editor routes lead into the familiar forms described under Making a New Entry. The rest of this page covers the quick wizard.
Quick submission, step by step
The wizard has three stages — Sample, Author and Analyses — shown as breadcrumbs at the top of the dialog. A stage turns green once it is complete.
Step 1 — Sample
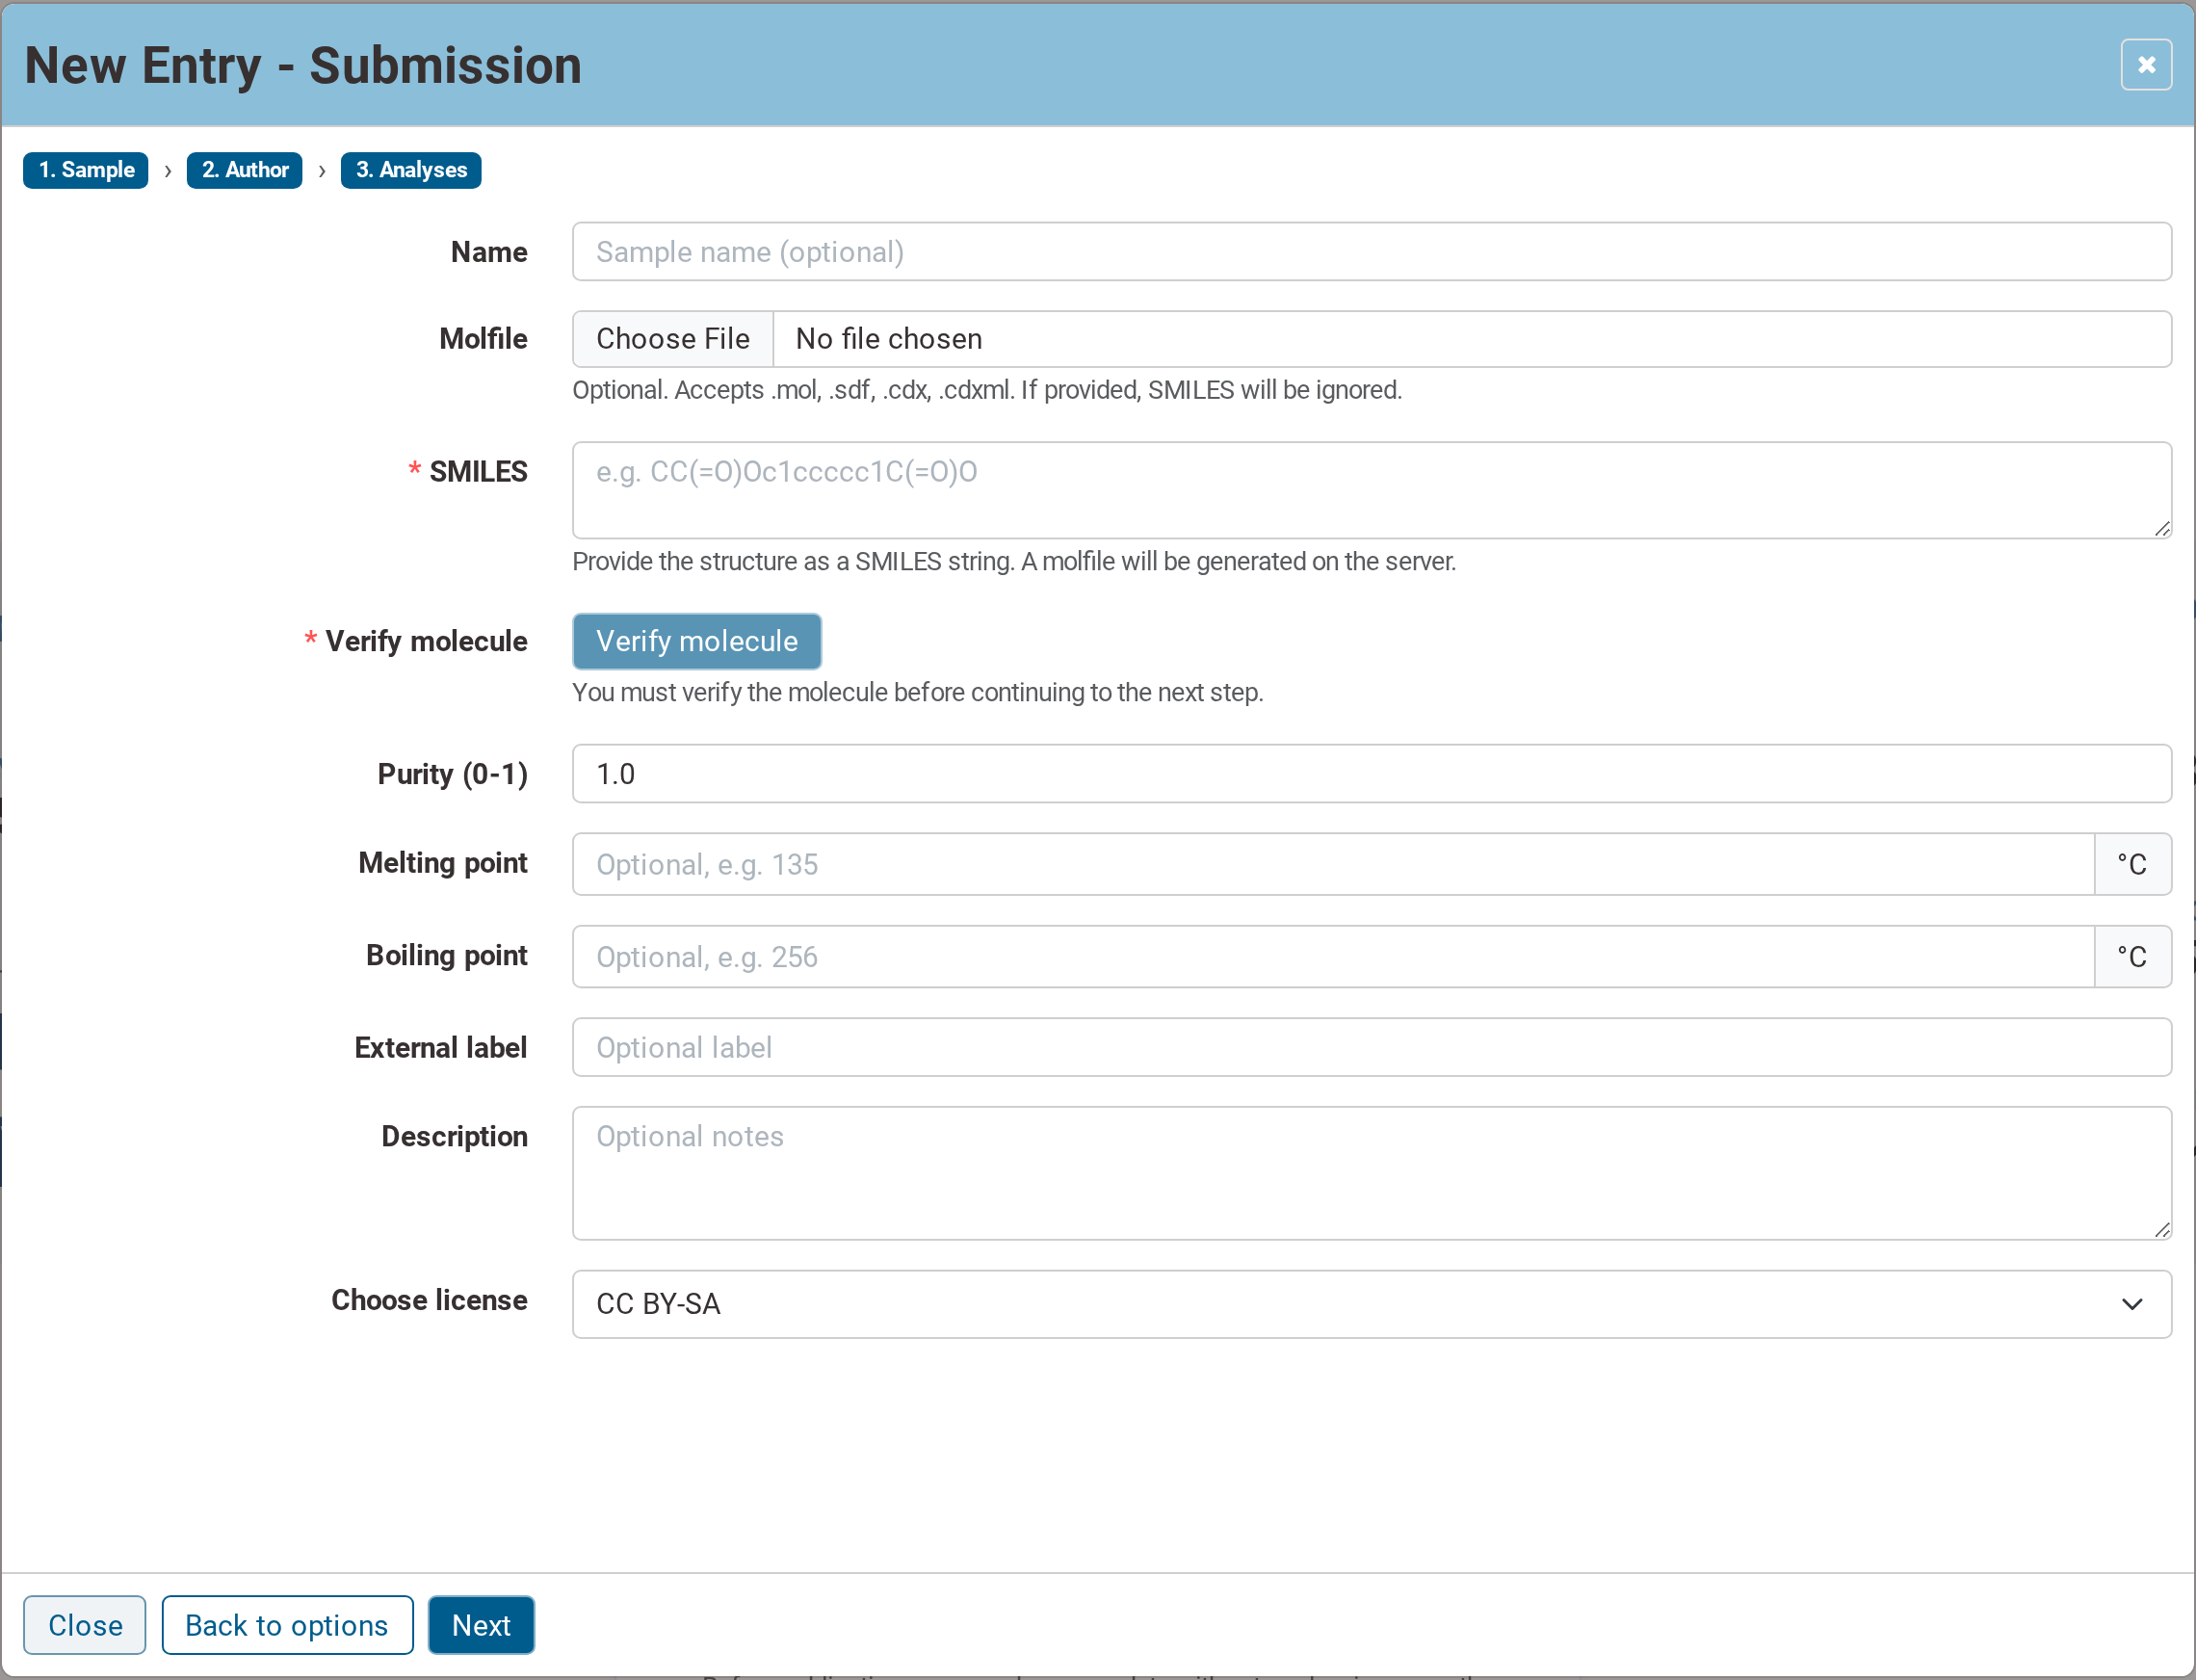
Step 1 — the structure and its basic properties
Provide the structure in one of two ways:
- upload a molfile —
.mol,.sdf,.cdxor.cdxml, including a ChemDraw file, or - type a SMILES string, from which the server generates a molfile.
If you supply a molfile, the SMILES field is ignored.
Before you can continue you must press Verify molecule. The server resolves the structure and reports back the sum formula, the exact mass and the molecular weight, so you can confirm the structure was read as you intended.
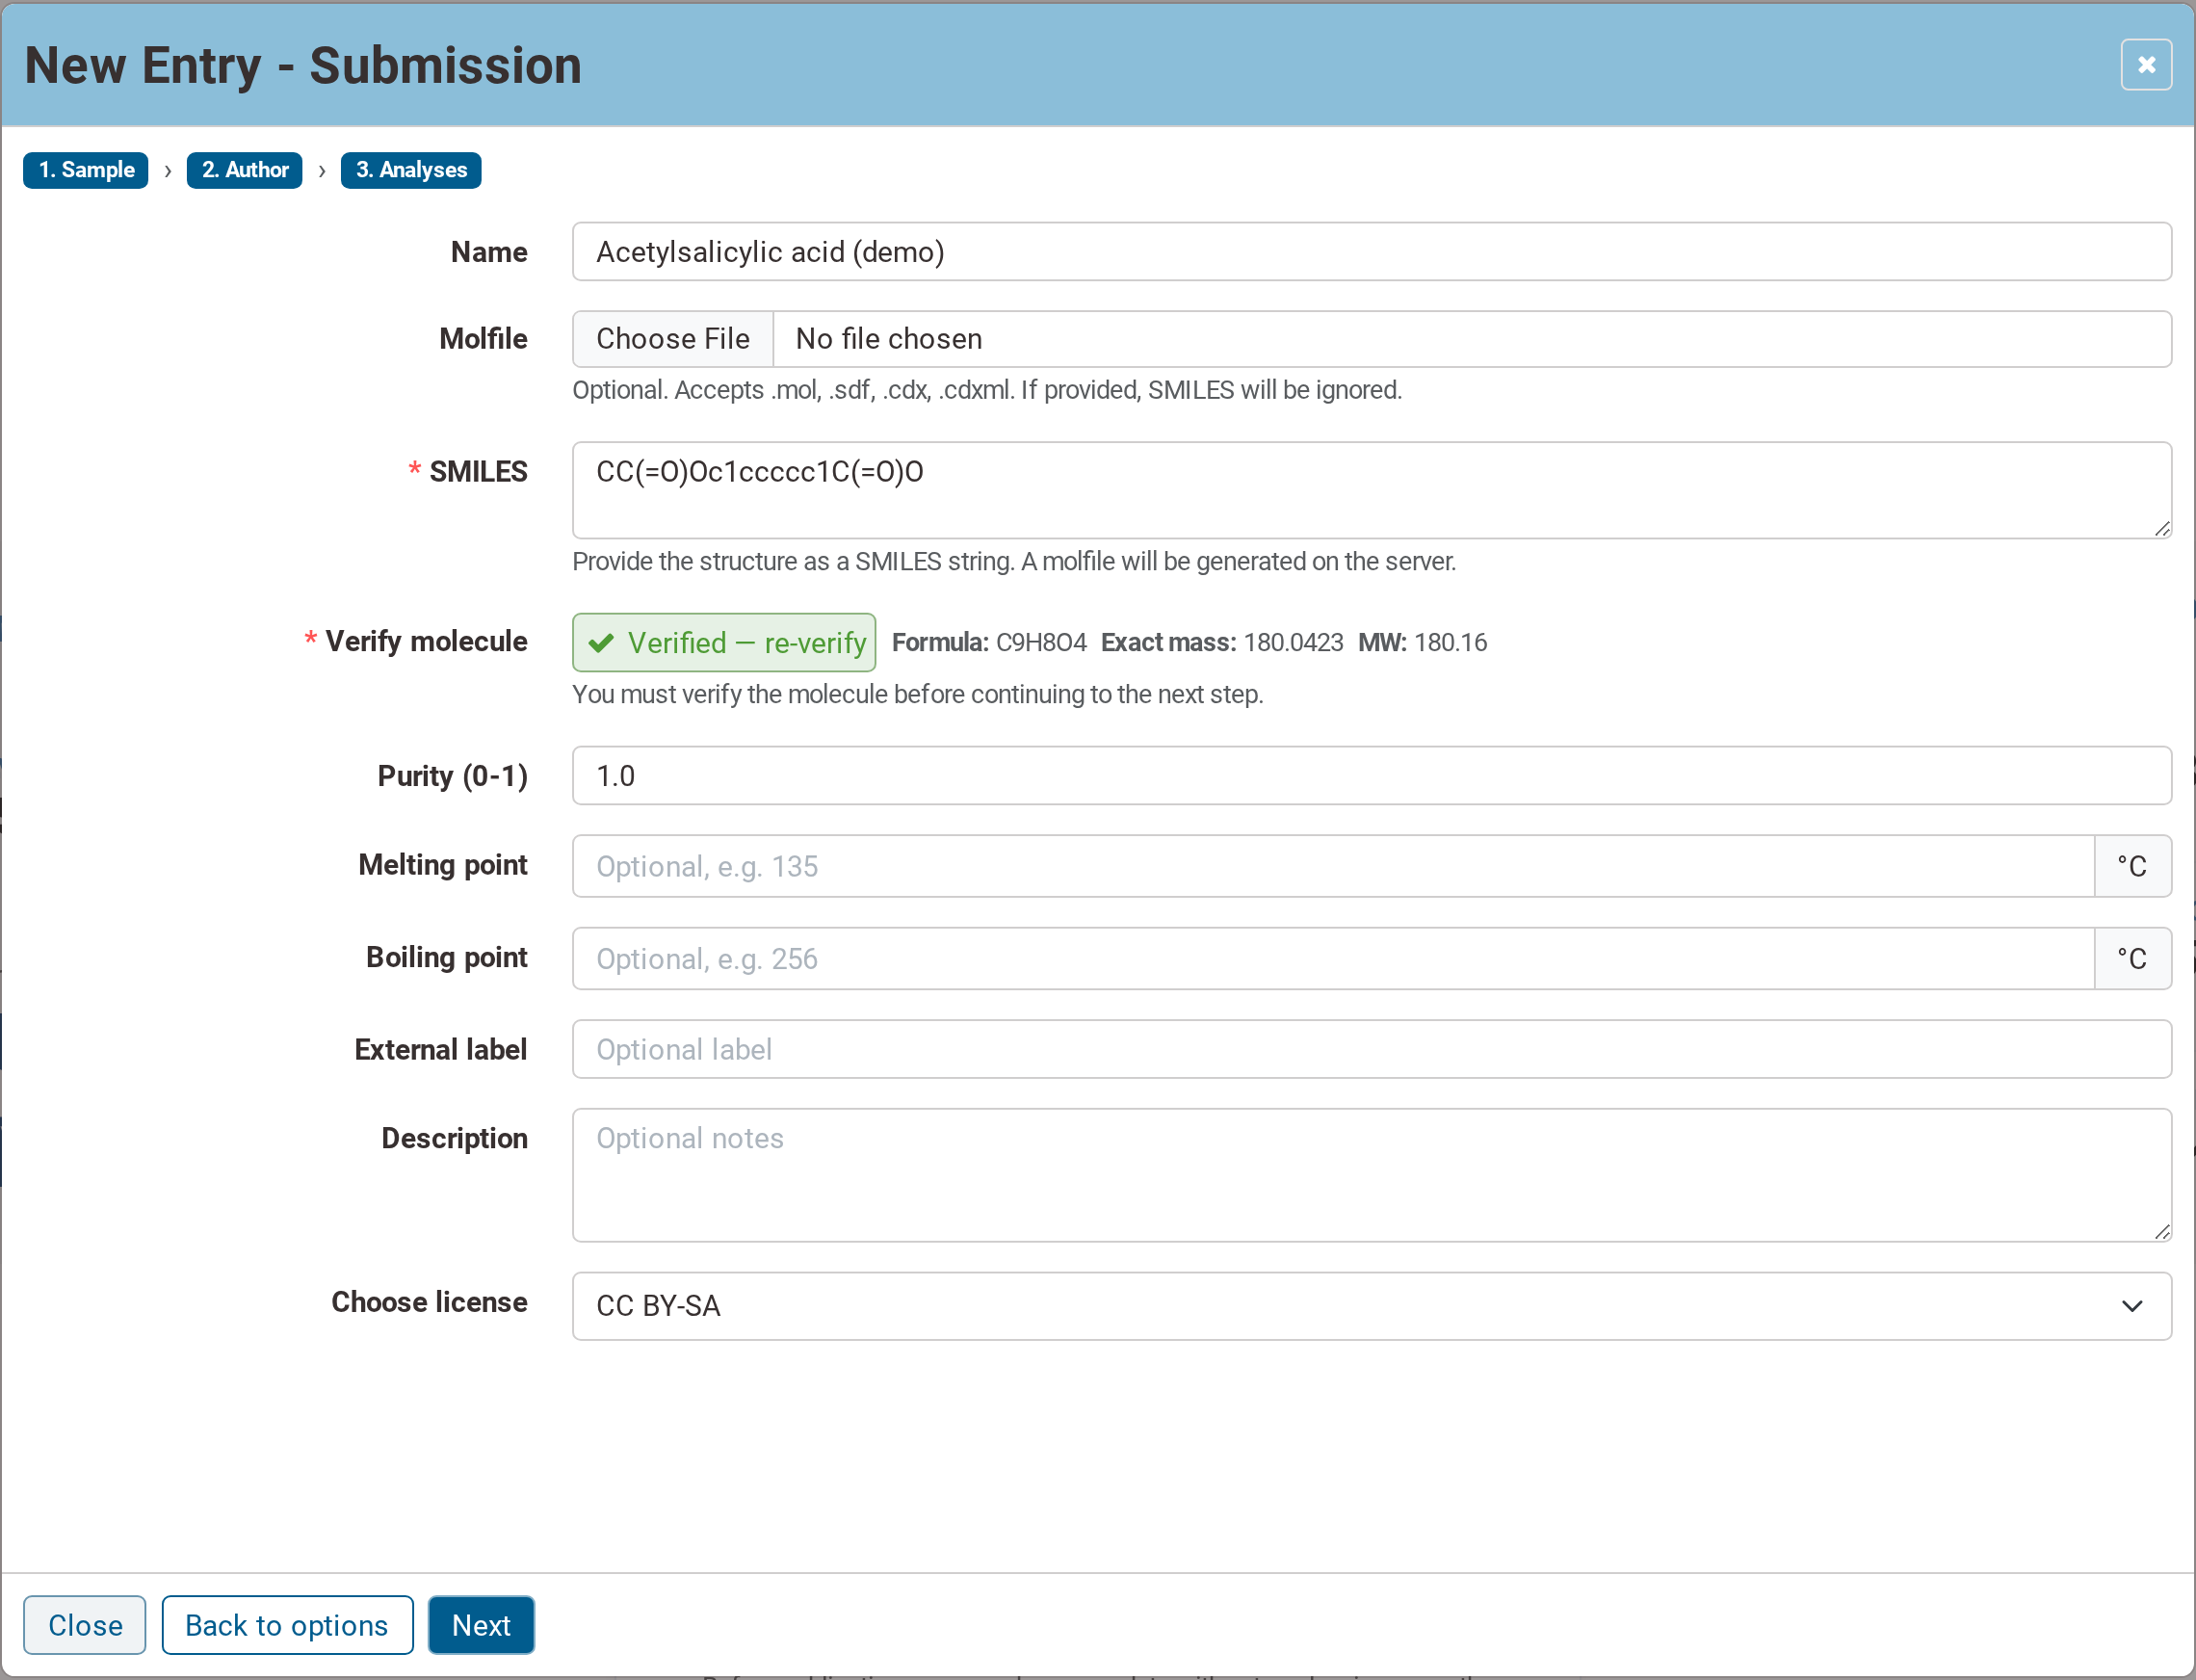
After verification the structure is confirmed back to you
The remaining fields on this step are optional except the licence: purity (0–1, defaulting to 1.0), melting point and boiling point in °C, an external label, a free-text description, and the licence your data is published under. Choose the licence carefully and in accordance with the rules of your institution — the options are explained in the FAQ.
Step 2 — Author
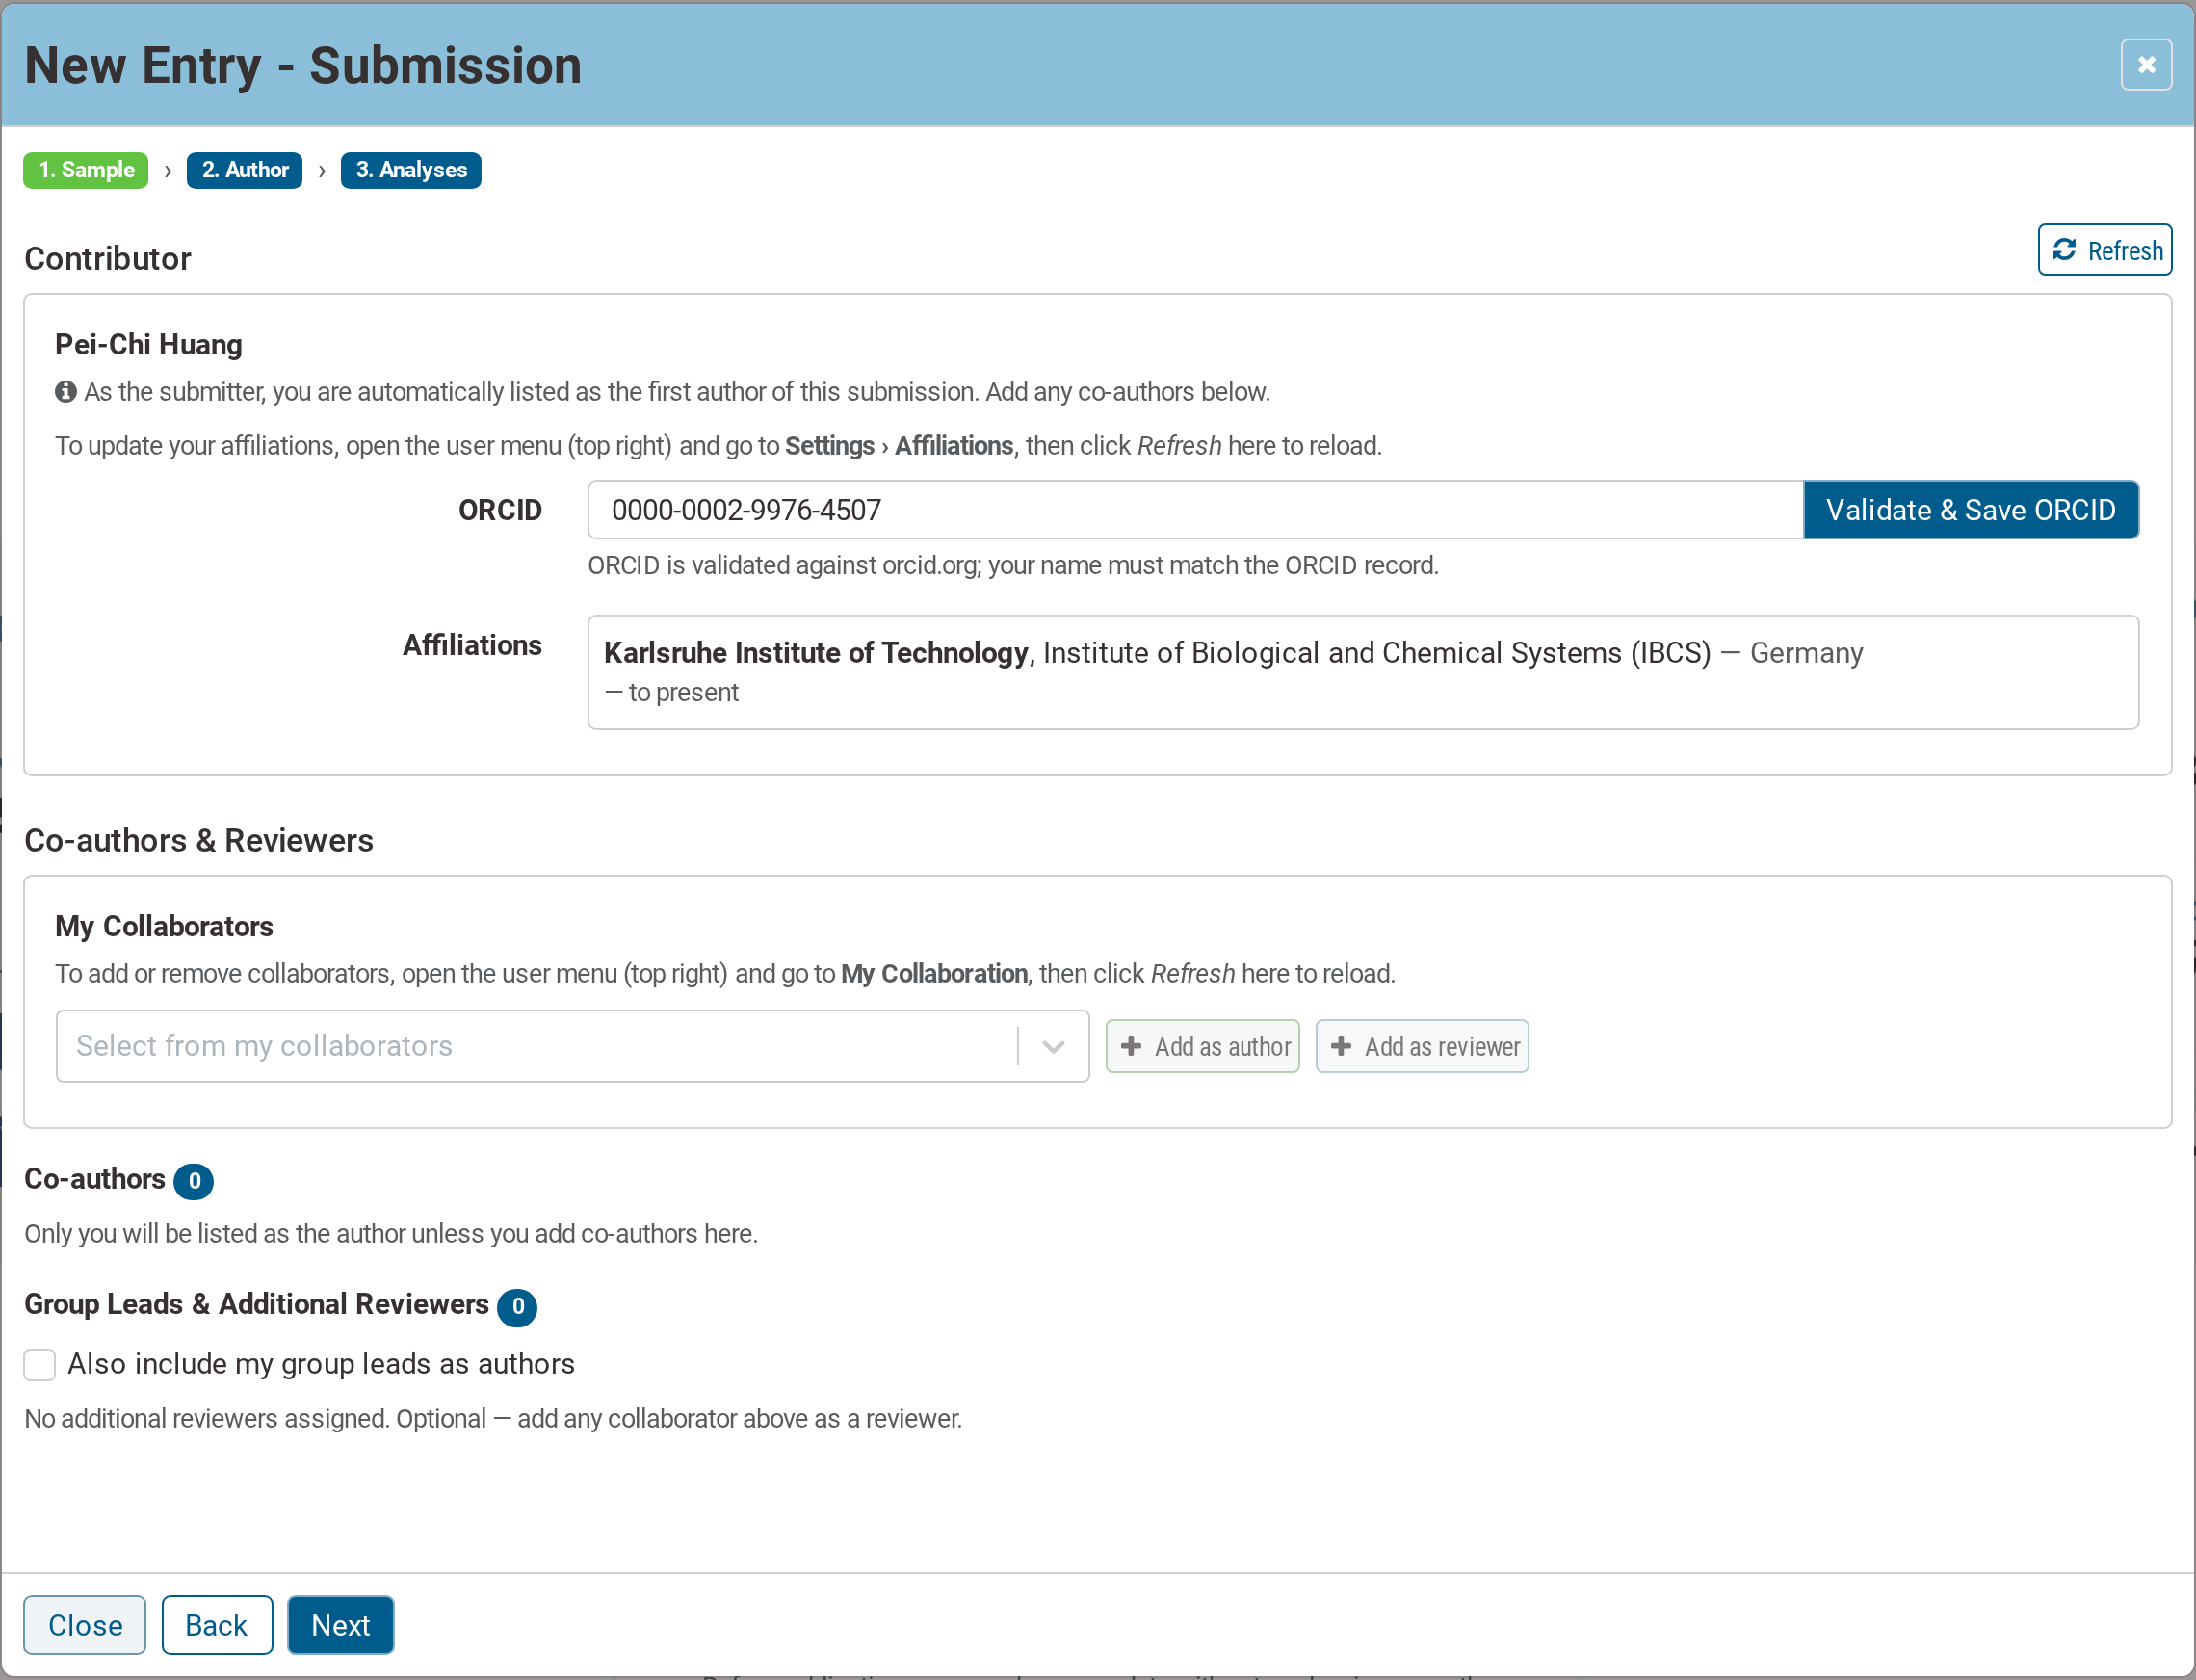
Step 2 — contributor, ORCID, affiliations, co-authors and reviewers
As the submitter you are always listed as the first author of the submission. Co-authors are added after you.
This step shows your ORCID and your affiliations as they are currently recorded. The ORCID is validated against orcid.org, and your name must match the ORCID record. Affiliations are maintained under Settings › Affiliations in the user menu; the Refresh button reloads them into the dialog without losing what you have already entered.
Co-authors and reviewers are picked from My Collaborators and added with Add as author or Add as reviewer. Only people already in your collaborator list can be selected, so add them beforehand — see Add your collaborators. The Also include my group leads as authors checkbox adds the group lead(s) you configured under Assign Group Lead.
Step 3 — Analyses
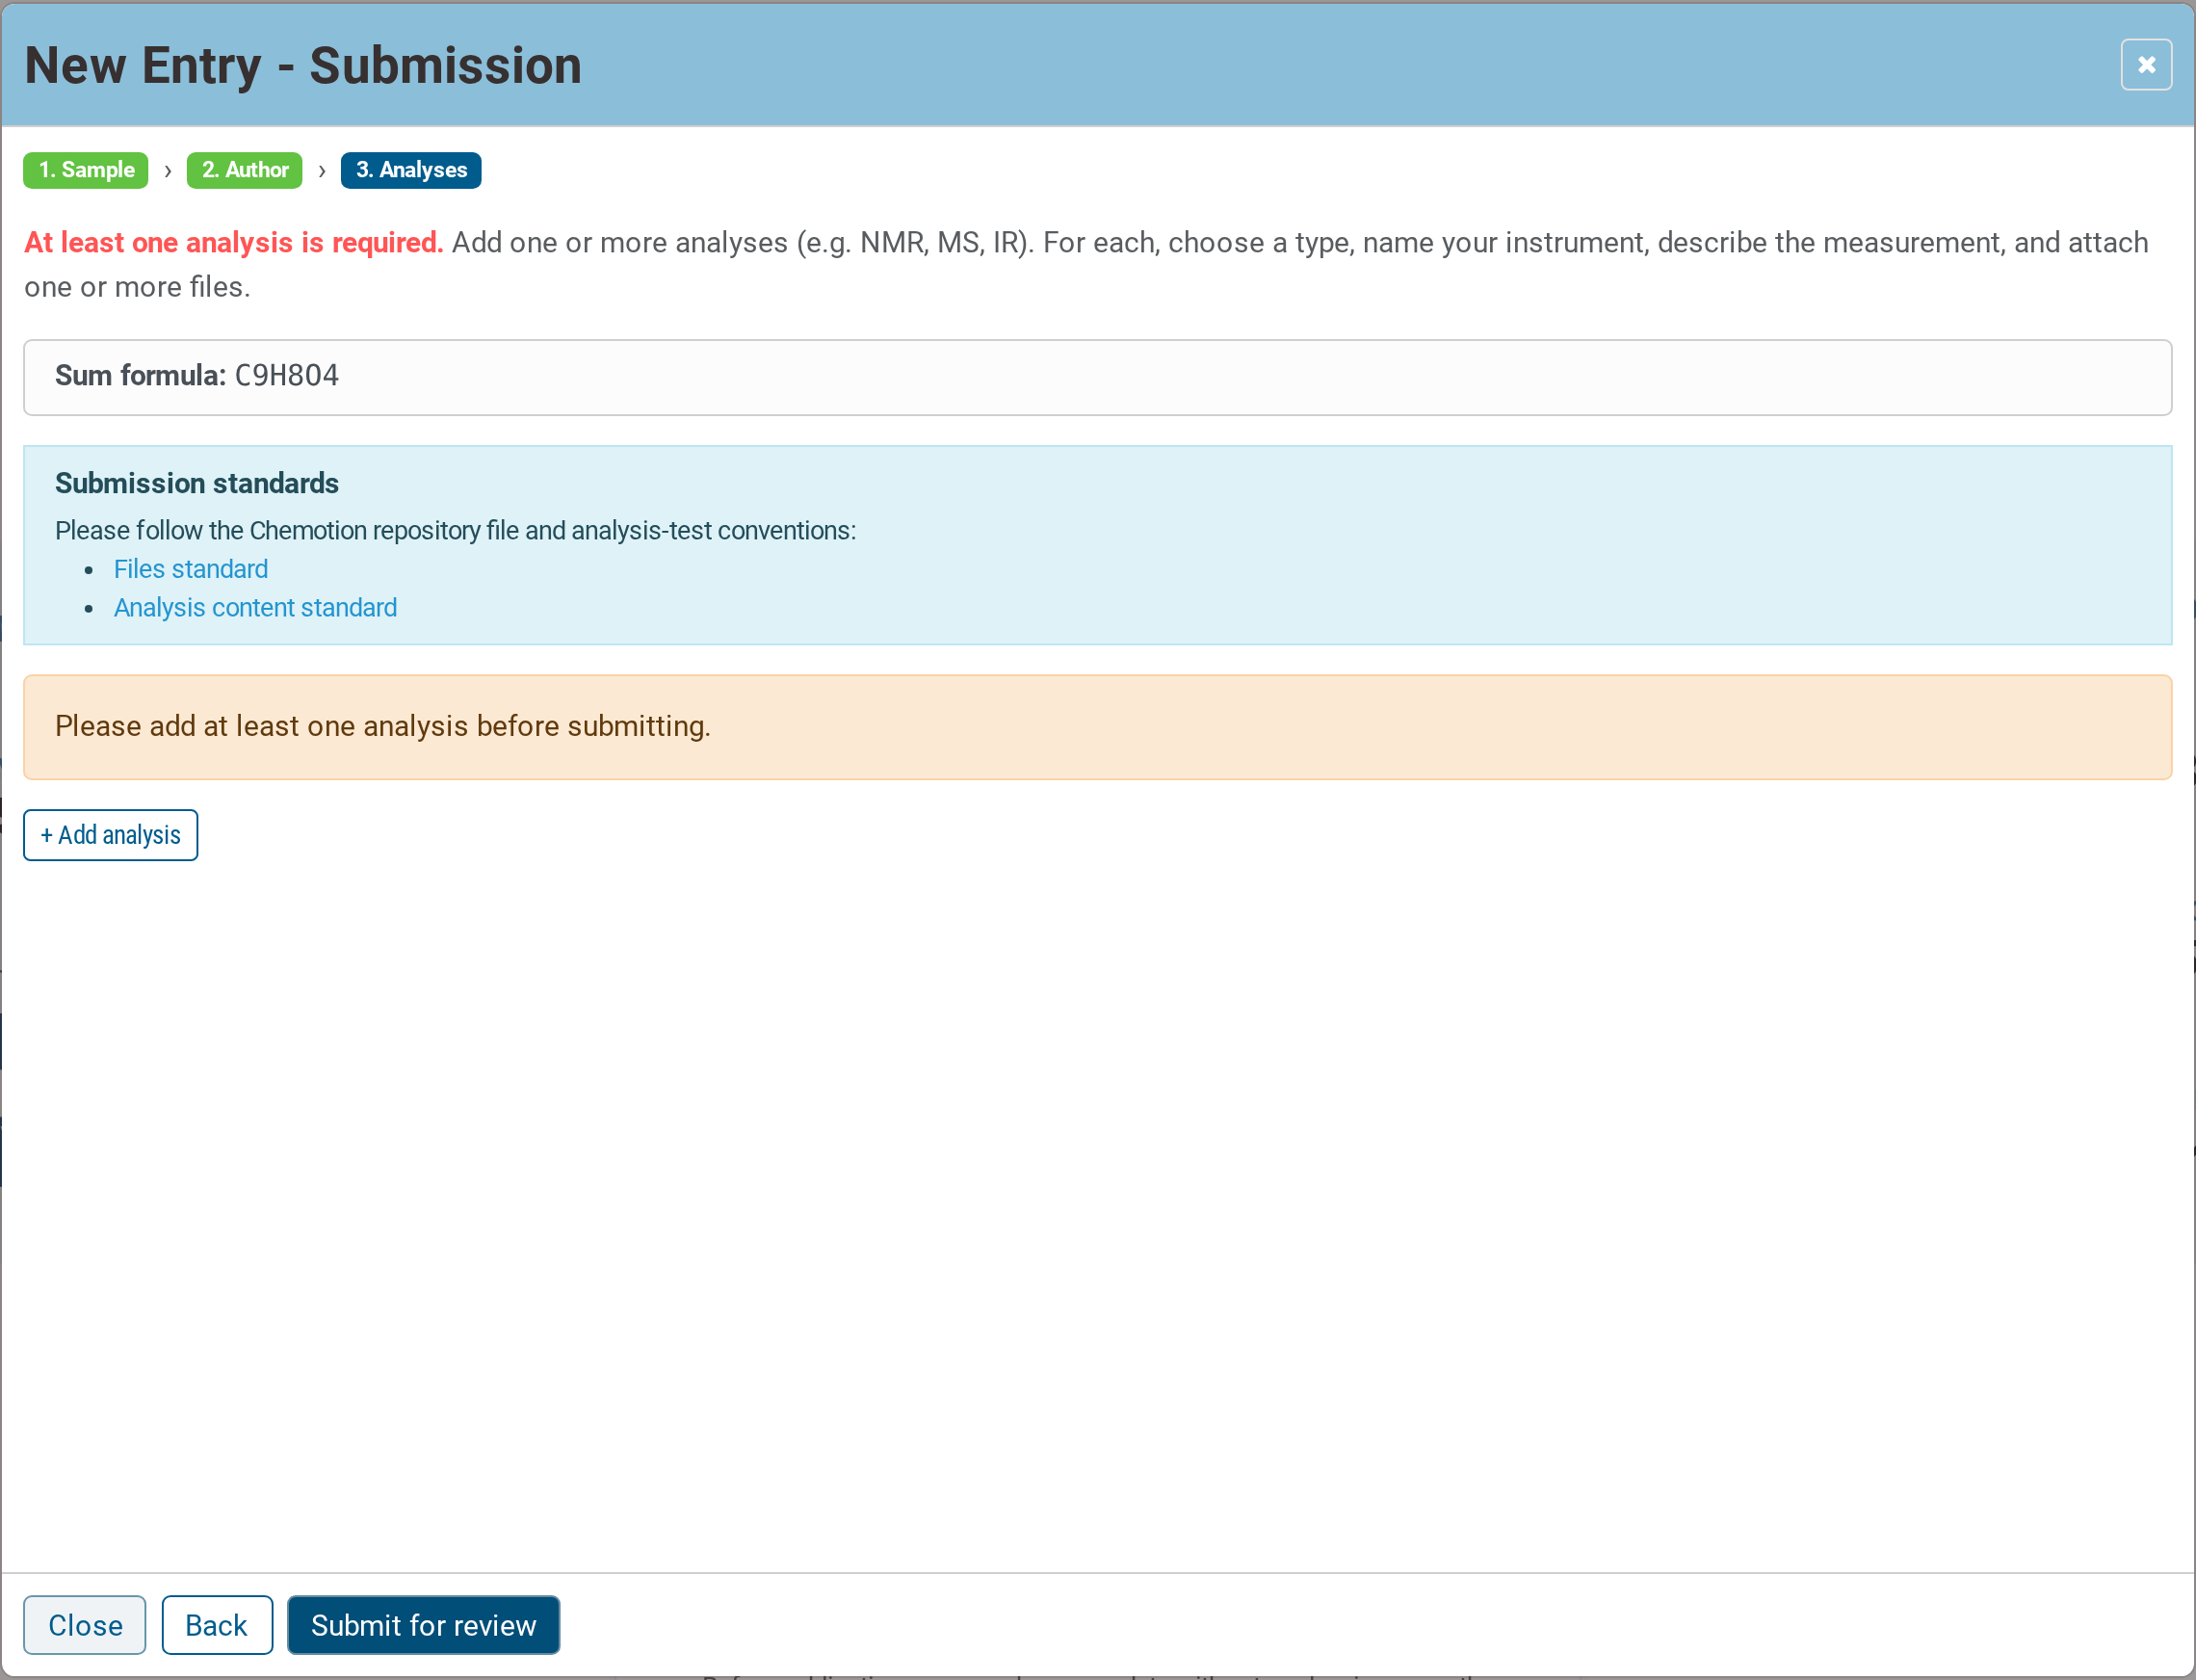
Step 3 — at least one analysis is required
At least one analysis with an attached file is required. The step links to the repository's file standard and analysis content standard — please follow them, as the review checks against these conventions.
Press + Add analysis to open the form for one analysis:
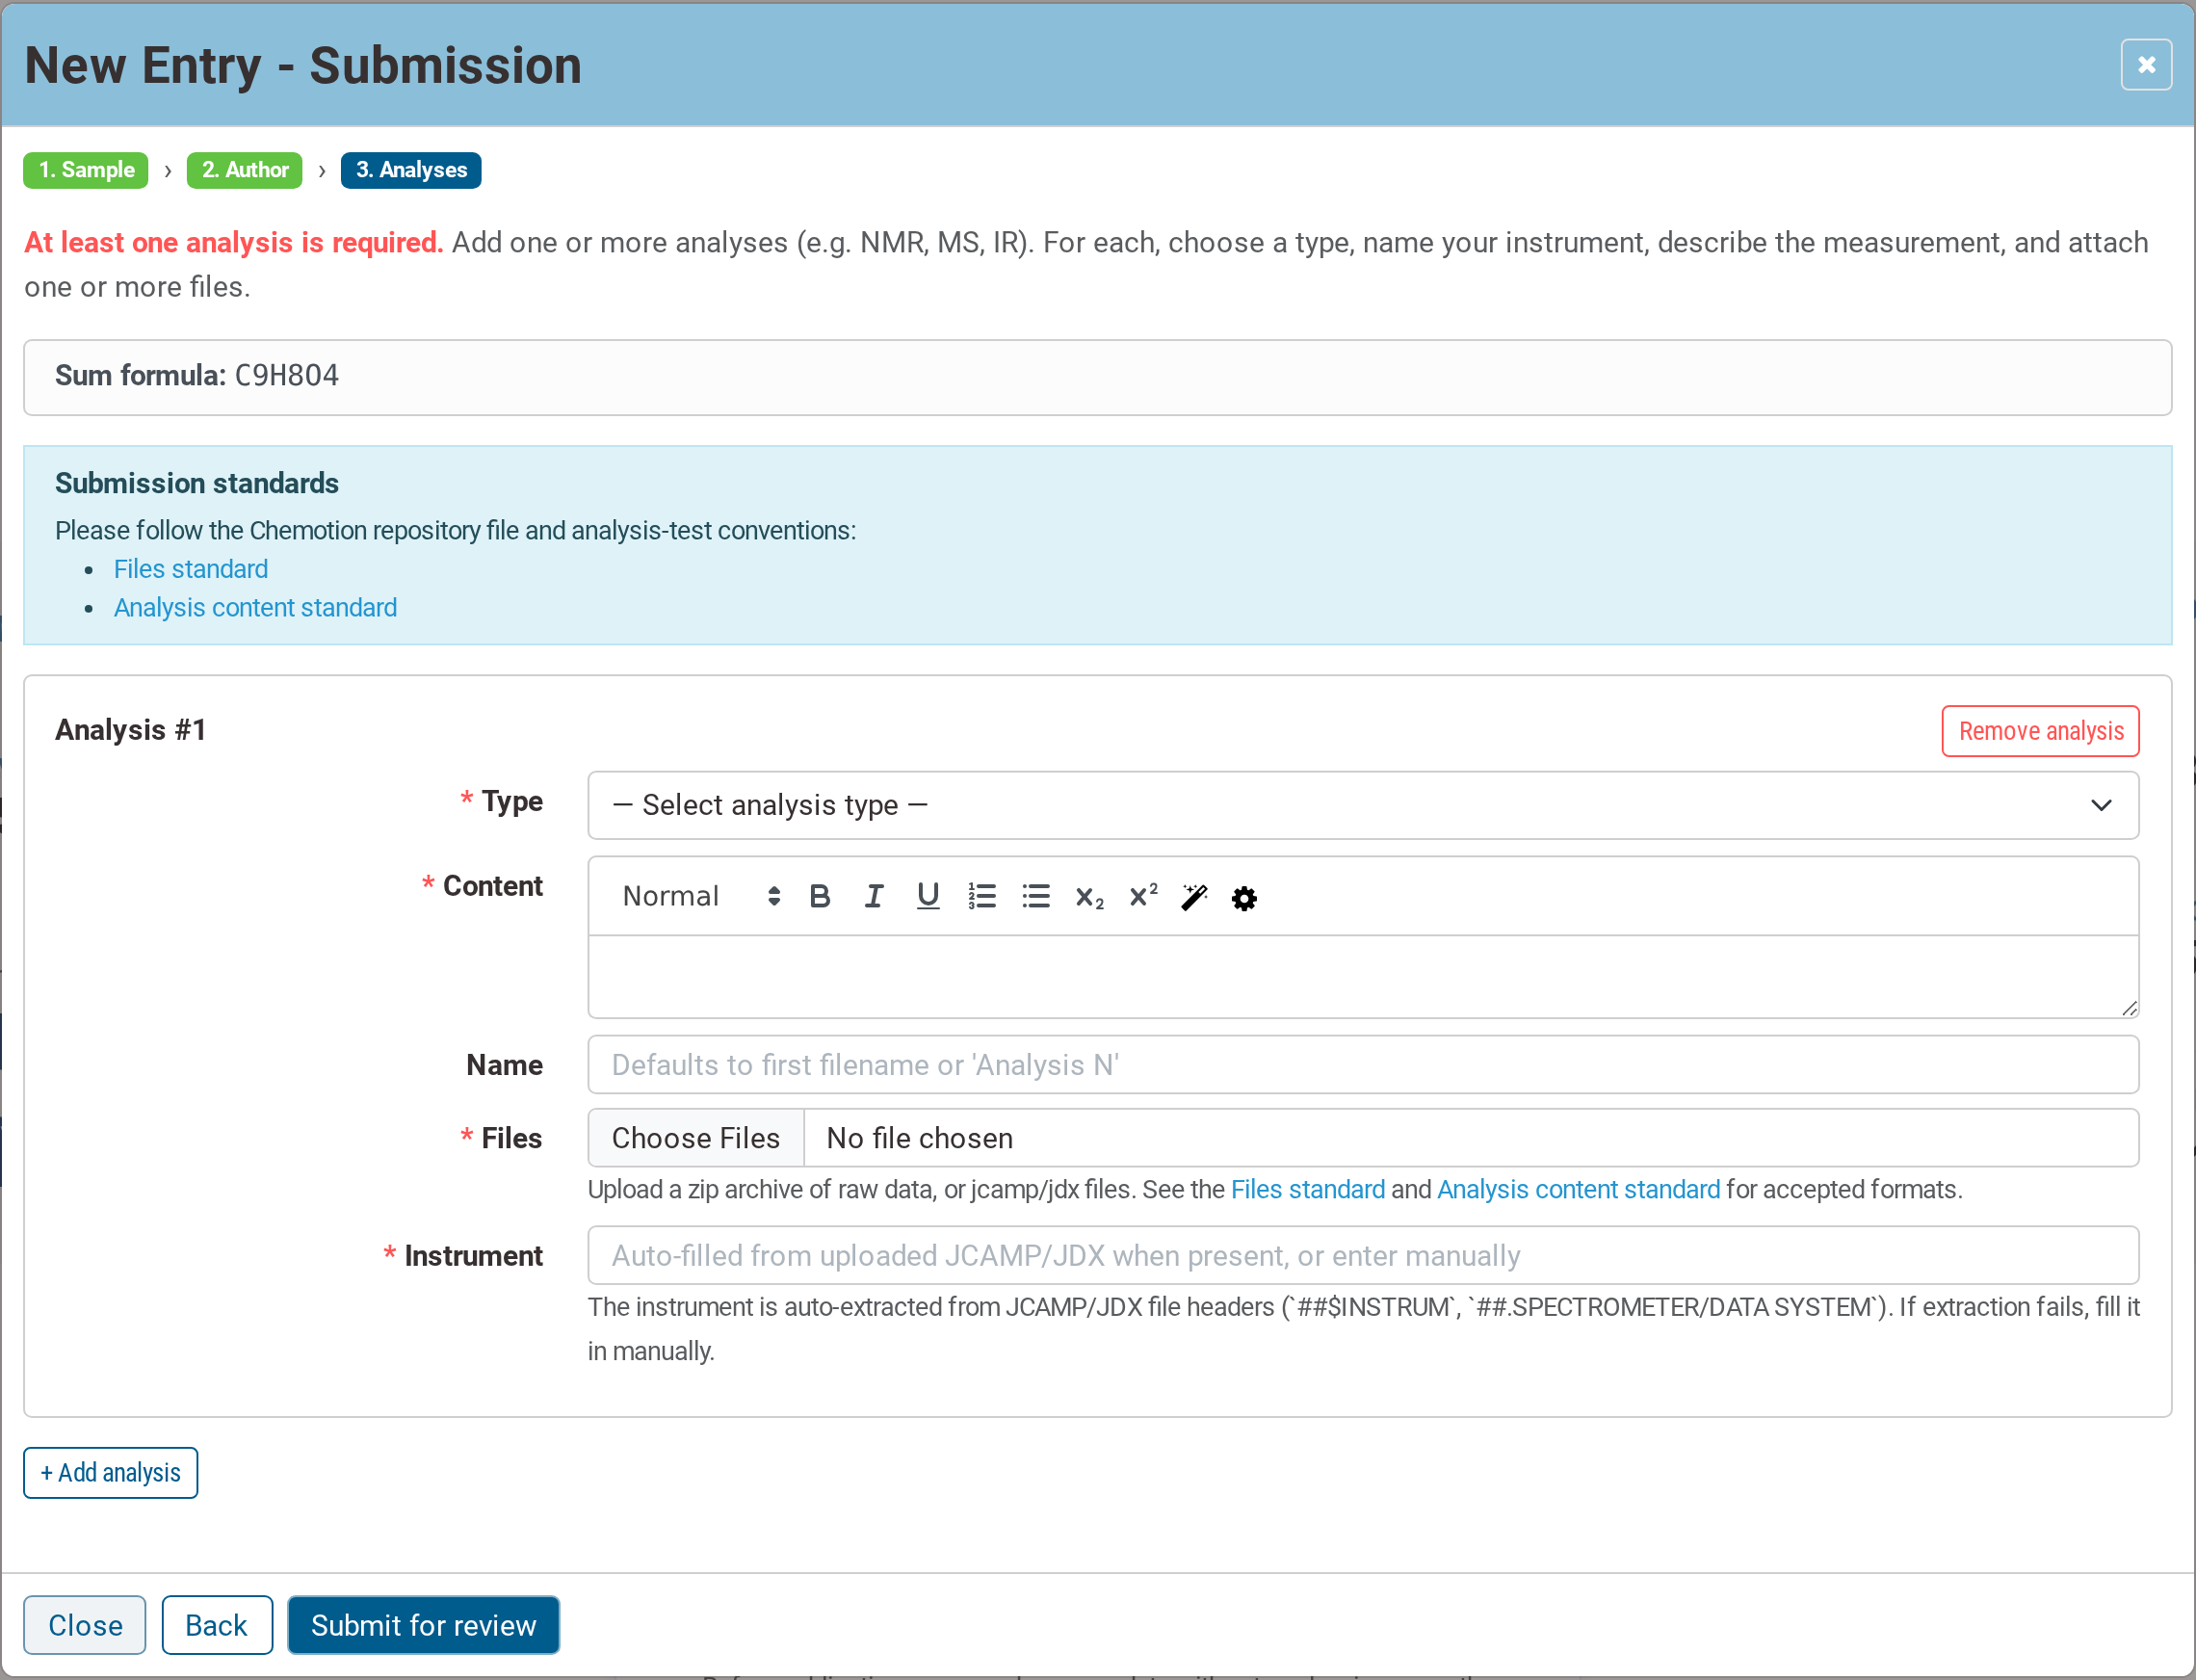
One analysis: type, content, files and instrument
| Field | Notes |
|---|---|
| Type | the analysis method, chosen from the ontology list — required |
| Content | the description of the measurement, with a rich-text editor — required |
| Name | optional; defaults to the first filename |
| Files | a zip archive of raw data, or JCAMP/JDX files — required |
| Instrument | auto-extracted from the JCAMP/JDX headers where present, otherwise entered by hand — required |
Add as many analyses as the compound needs, then press Submit for review to hand the entry over. From here it follows the normal review process.