Wellplates
Wellplates represent the localization of materials (chemicals) for biological experiments and are therefore some kind of link between chemical and biological operations.
Creation
 Wellplates can be created through different options via the dropdown menu in the
 in the Action Bar. Find the Action Bar in the structure of the Action Bar.
The first element in the blue button looks differently according to the tab that is selected in the Element Bar, for example if you are on the Sample Tab there will be a instead of .
-
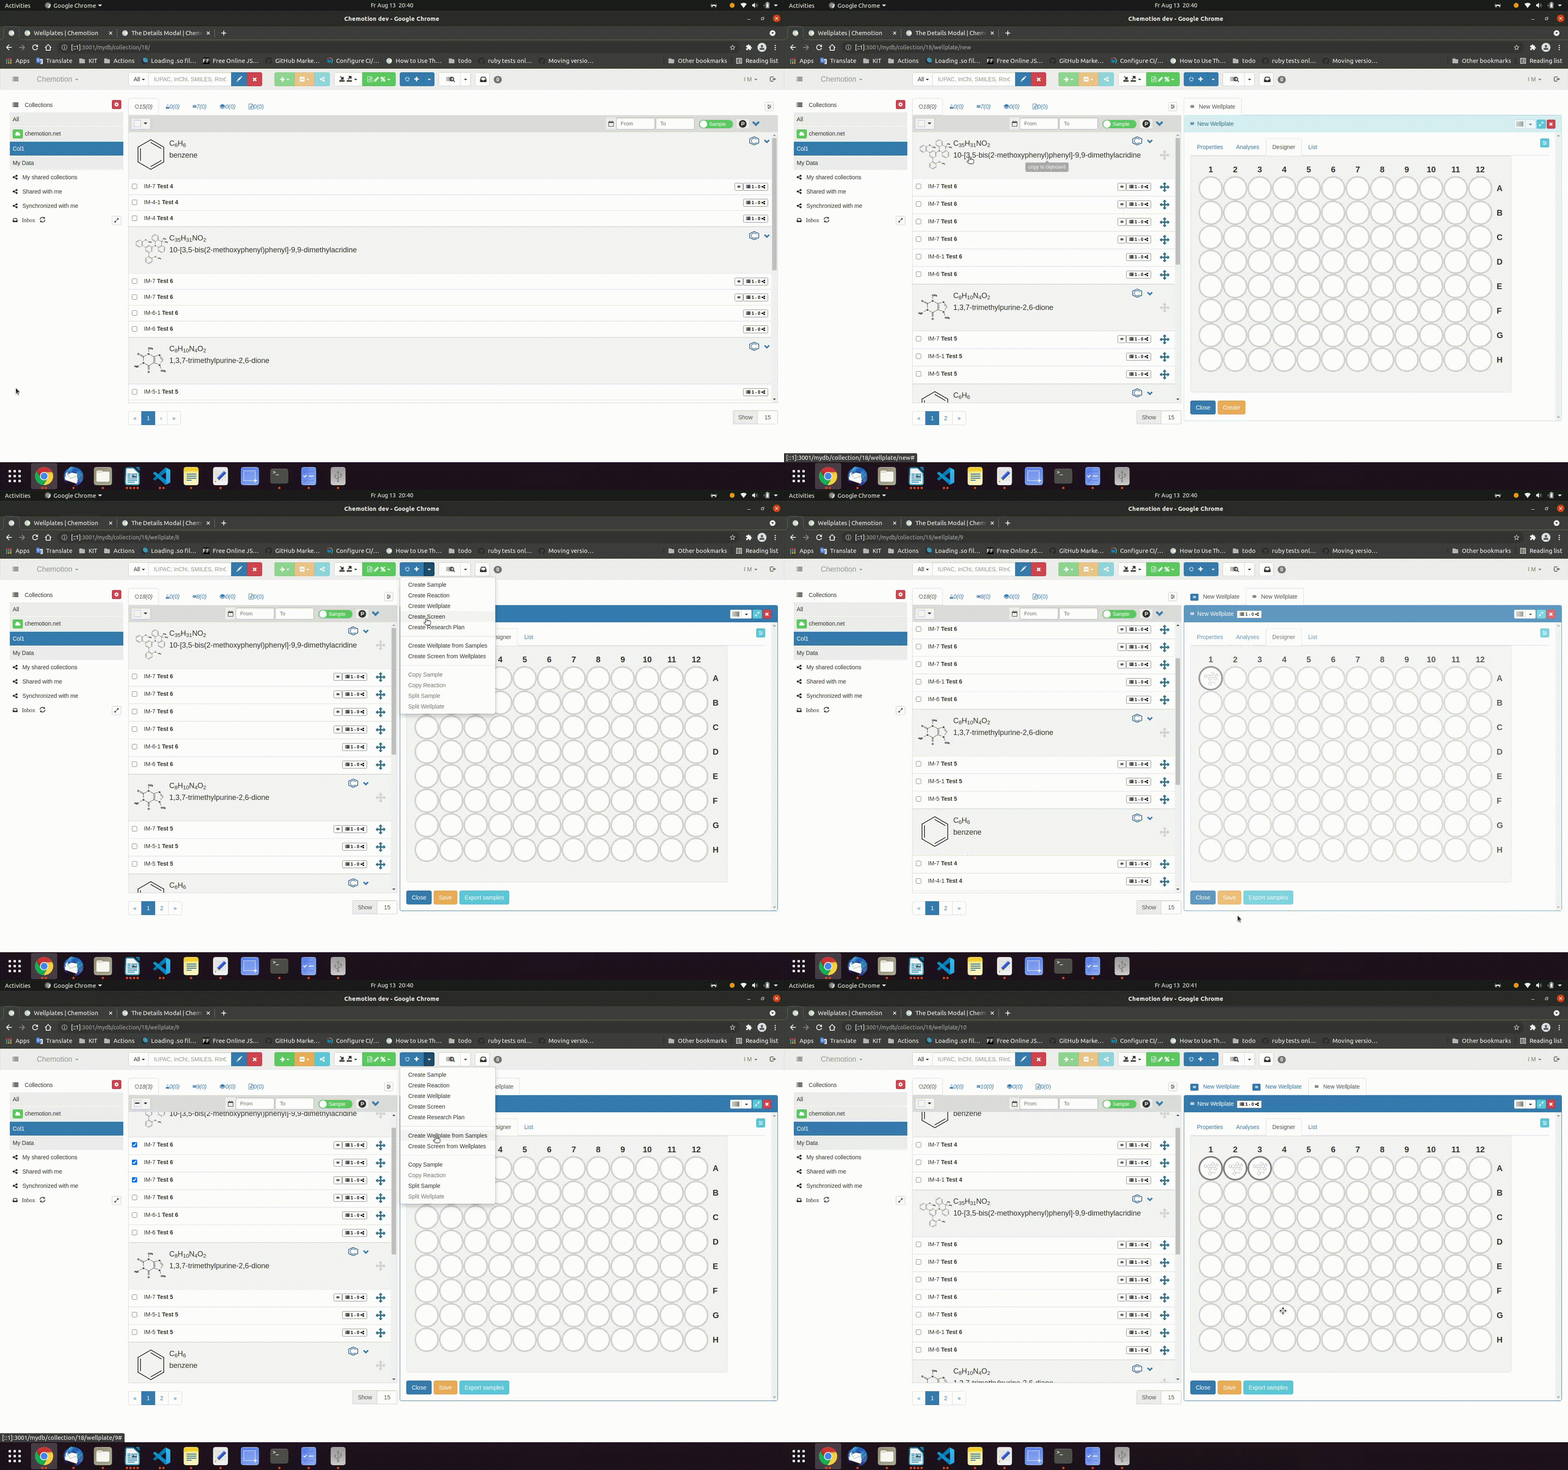
A blank wellplate can be created by clicking on the when the wellplate tab is selected or with the option Create Wellplate from the dropdown menu . The blank wells of the plate can be filled in the Designer tab via drag and drop with samples from the samples list.
-
A filled wellplate can be created from one or multiple sample(s) when the samples are selected in the sample list on the sample tab. Then select Create Wellplate from Samples in the dropdown menu. After that the wellplate in the Designer tab is automatically filled with the selected samples. This action is a combination of the action split of the selected samples together with the insertion of the created split samples in the wellplate. The wellplate will be gradually filled with the created split samples. If the number of the split samples exceeds the free positions in the wellplate, there will be a second wellplate created and filled automatically.
A wellplate can be saved, edited and deleted in the details panel view.
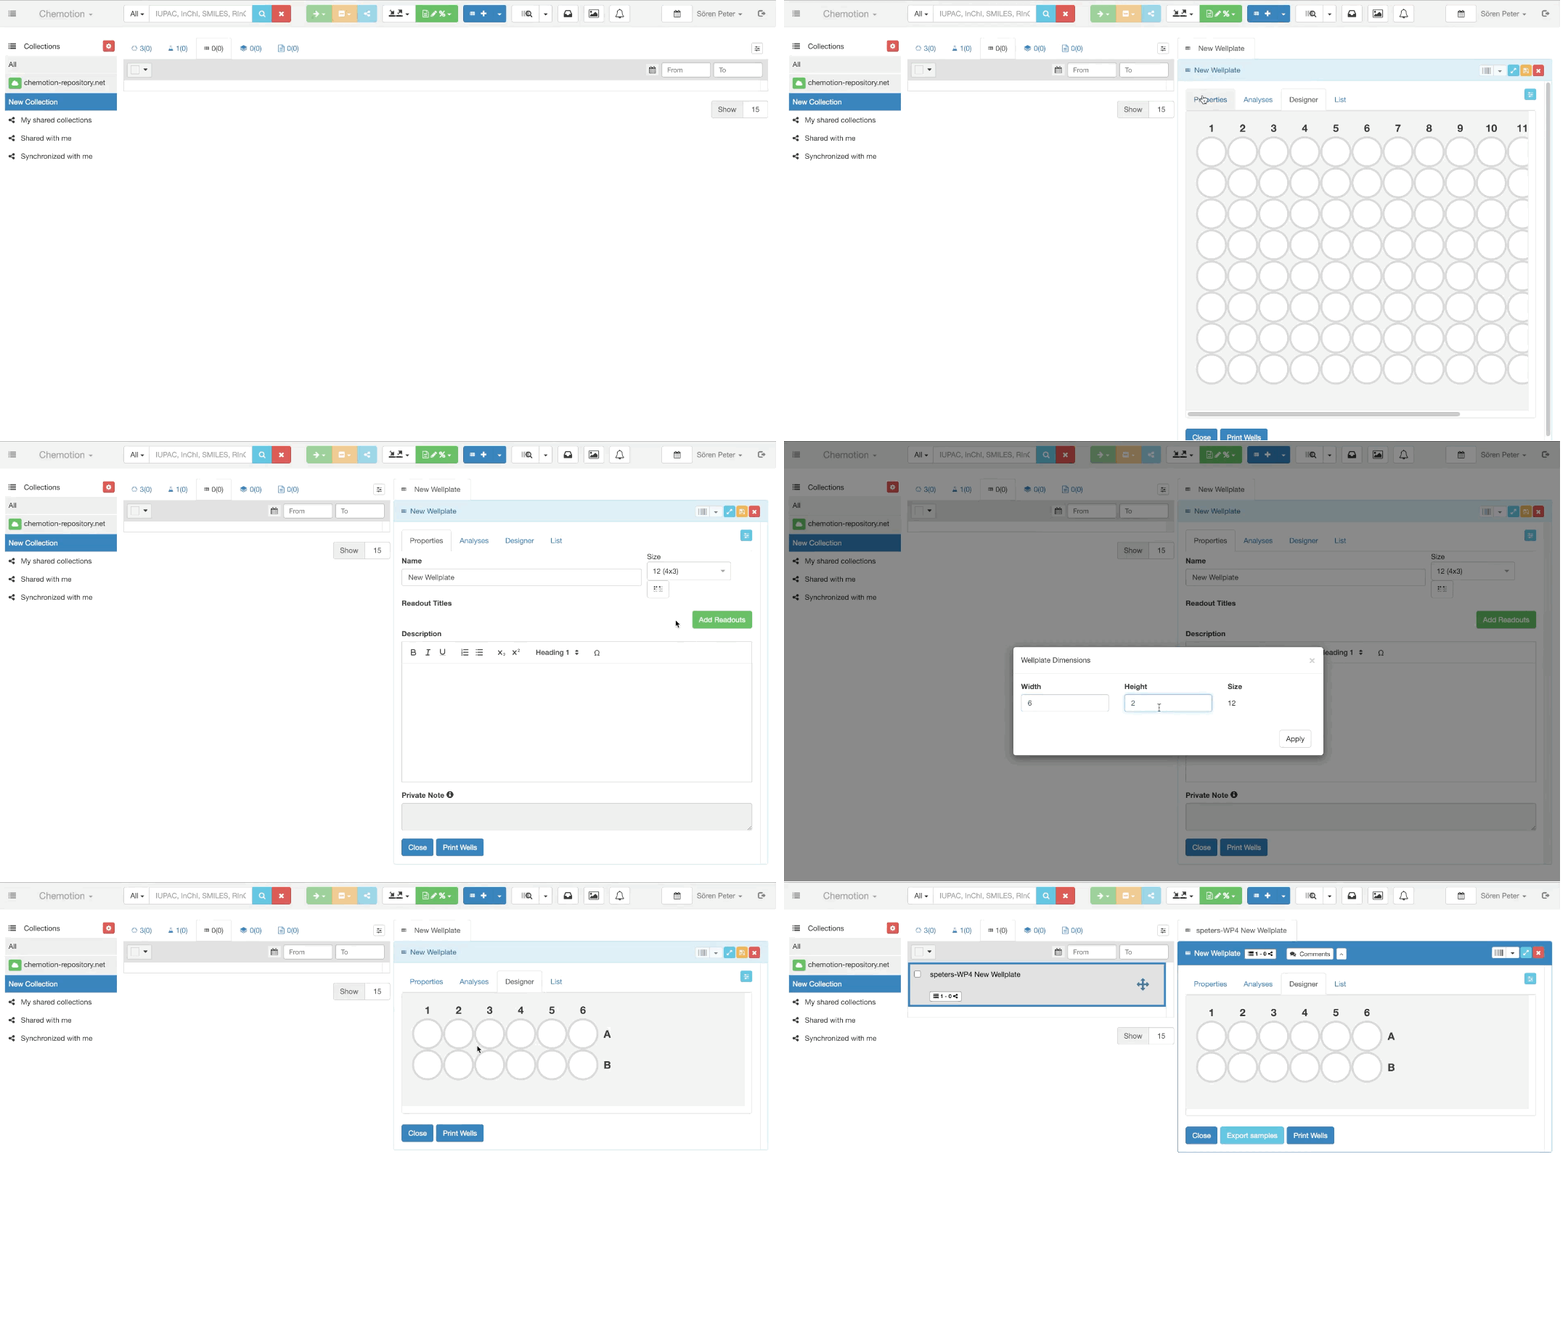
Adjust the size of a wellplate

During the creation the size of a wellplate can be adjusted in the Properties tab by clicking on the . The size of the wellplate can be adjusted by changing the values Width and Height and pressing the Apply button. Be aware, that once a wellplate is created, the size can not be changed anymore.